Tests
The Test dashboard is the main entry point for the data acquisition process. It also lets you view and update test details and review past test data acquisition if a test has been Completed or To Review.
Test states
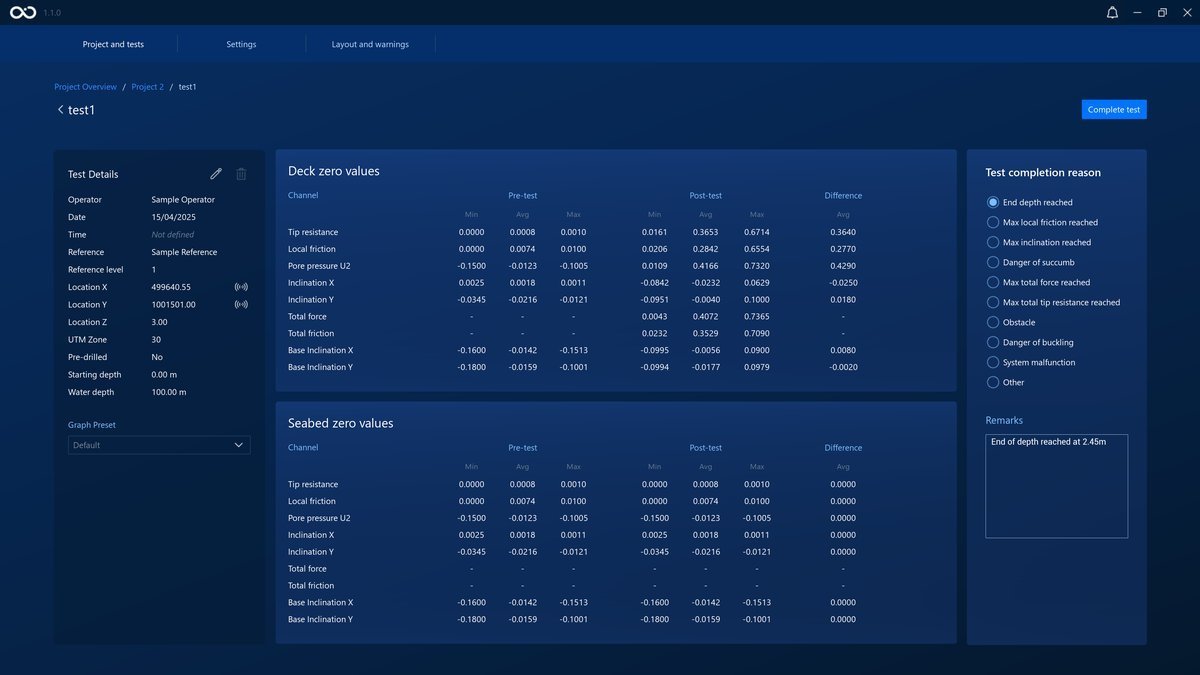
A Test can have one of six states:
| State | Description |
|---|---|
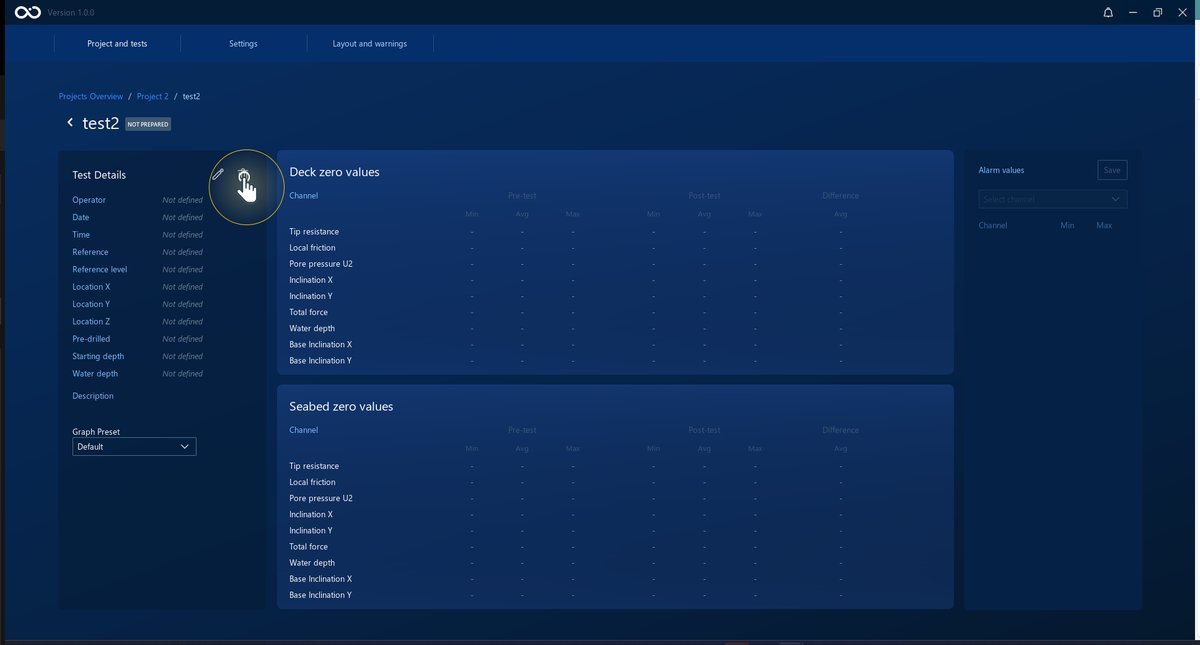
| Not prepared | A newly created test, missing the test details that it needs to start |
| Prepared | A newly created test with the test details filled out |
| In progress | A test that has started data acquisition |
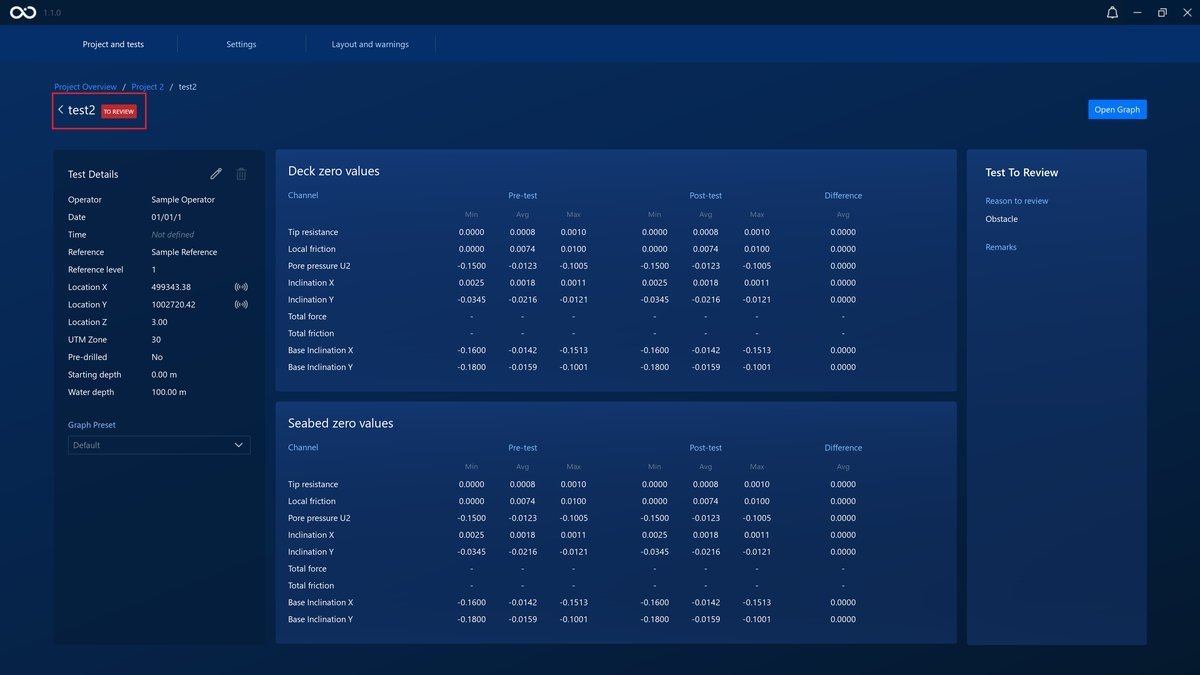
| To Review | A test where all measurements were finished but it was completed with a To Review reason |
| Invalid | A test where there was an error that caused a disconnection in the middle of measurements and the test could not complete |
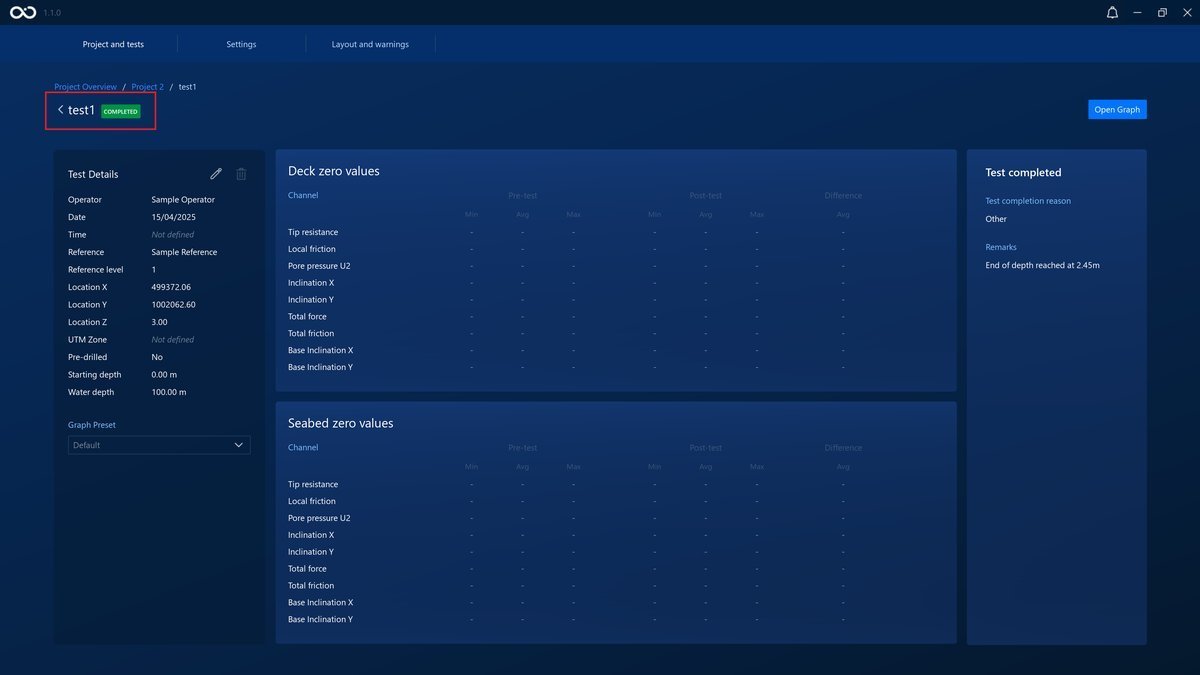
| Completed | A test where all measurements were finished and completed with a Completed reason |
When a test becomes Invalid
A test becomes Invalid if it finishes or hits an error, but the connection to the API is lost before the Complete test button is pressed. When this happens, you'll be returned to the Project Overview page automatically.
This is expected behavior, not a bug. If you see it happen:
- Wait a short while for the API to come back online.
- Once it's back up, reopen the project as normal and start a new test.
Test completion reasons
The possible completion reasons are as follows:
| State | Completion Reason |
|---|---|
| Completed | End Depth reached |
| Completed | Maximum local friction reached |
| Completed | Maximum inclination reached |
| Completed | Maximum total force reached |
| Completed | Maximum total tip resistance reached |
| To Review | Danger of succumbing |
| To Review | Obstacle |
| To Review | Danger of buckling |
| To Review | System malfunction |
| To Review | Other |
Create a New Test
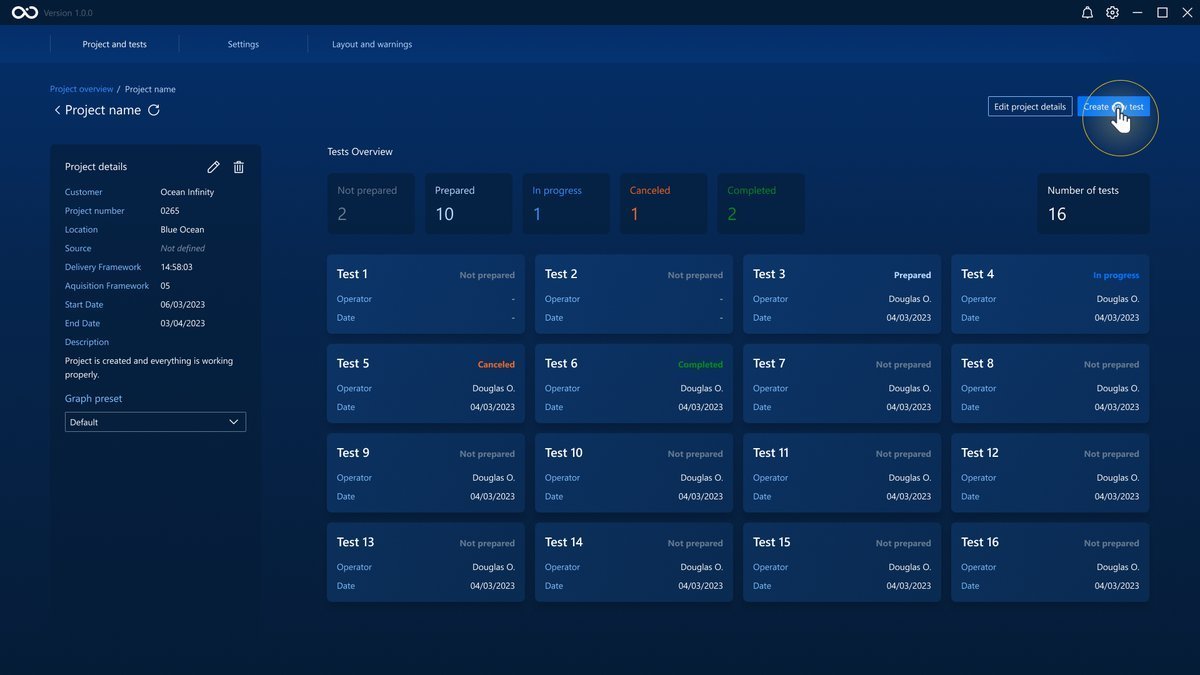
When creating a new project, you can set the number of tests that the project will start with (see Create a New Project). However, more tests can be added by clicking the Create New Test button in the Project Dashboard. The newly created test will start as Not prepared.
Prepare a Test (Edit Test Details)
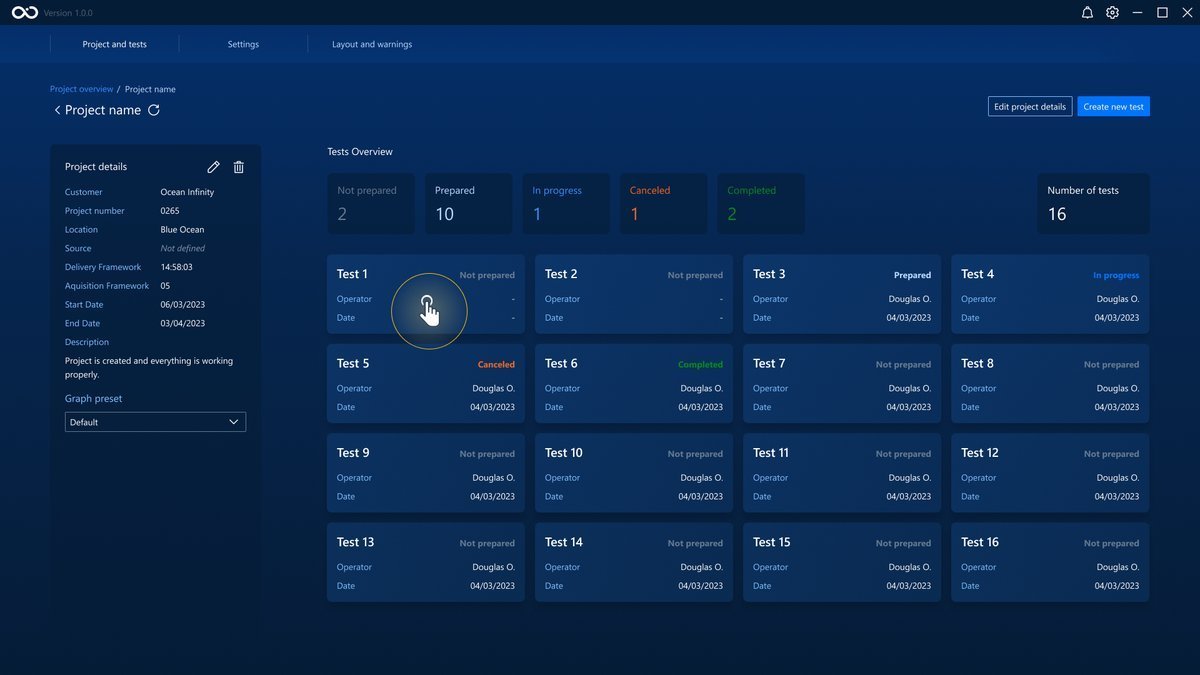
To prepare a test, you need to fill in the test's details. First, navigate to the test dashboard by clicking on its card.
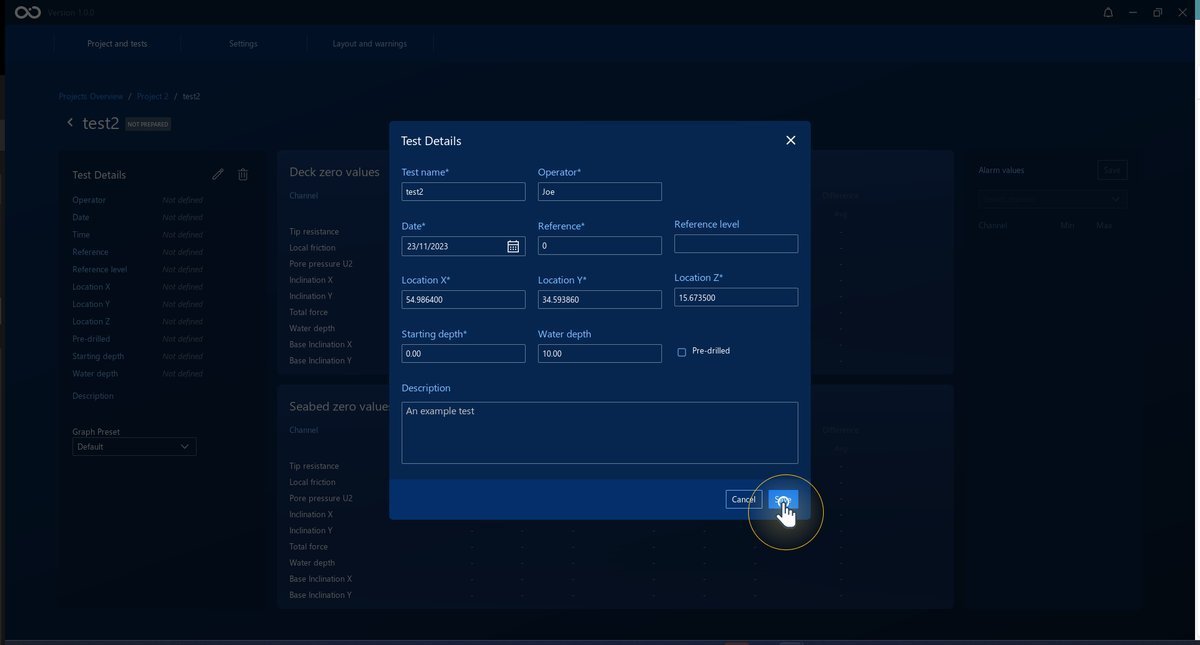
If the test is Not prepared, the panel to edit the test details will show immediately.
The image below shows the panel where you can fill in the test details. The fields with * are mandatory. After the mandatory fields are filled, you can save the changes, and the test will now be Prepared.
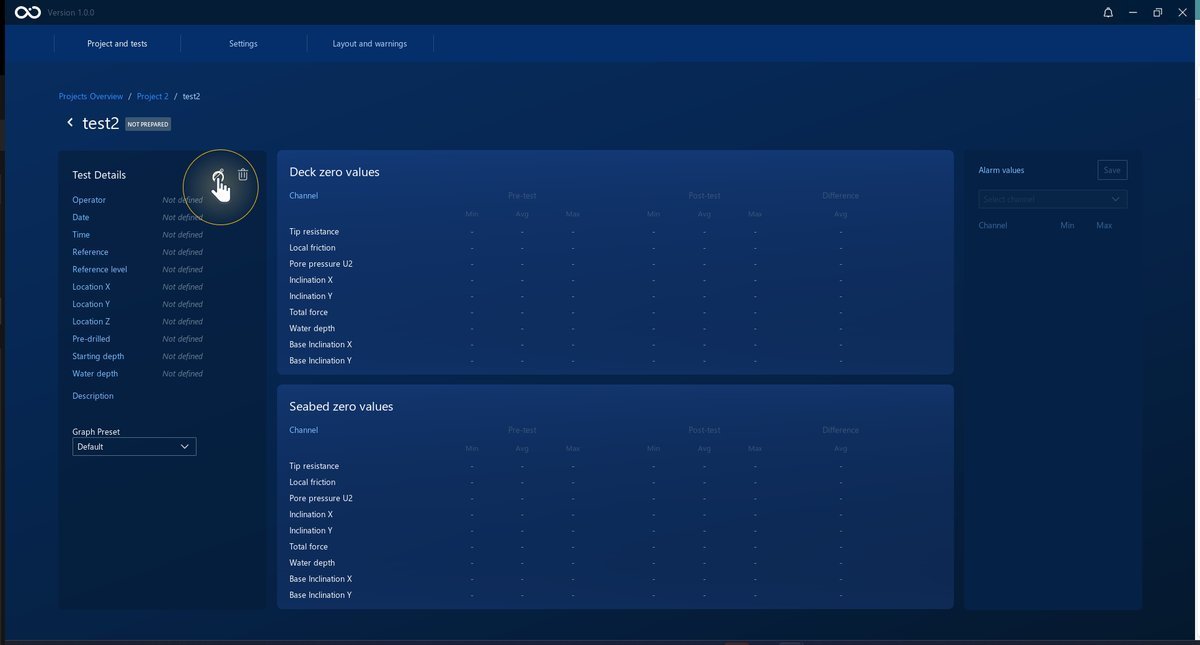
If the test was already prepared, you need to click on the button to edit the details. The test's details can be edited any time after test is Prepared.
Delete a Test
You can only delete a test that is Not prepared or Prepared. To do so, click the Trash button on the Test Details panel.